Secure Shell (SSH) is a protocol that provides a secure channel over an unsecured network, allowing you to connect and authenticate to GitHub without typing in a password each time. This guide will walk you through the process of adding GitHub SSH to your local system, enabling a seamless experience when working with remote Git repositories.
Prerequisites
Before you begin, ensure you have:
- A GitHub account. If you don’t have one, sign up here.
- Git utility installed on your system. If you haven’t installed Git yet, you can download it from here.
- A repository to clone or work with. If you need to create a new repository, you can do so here.
Generating a New SSH Key
- Open your terminal.
- Generate a new SSH key by running the following command. Replace
your_email@example.comwith your GitHub email address:
ssh-keygen -t ed25519 -C "your_email@example.com"
If your system doesn’t support the Ed25519 algorithm, use:
ssh-keygen -t rsa -b 4096 -C "your_email@example.com"Accept the default file location when prompted. If you’ve created SSH keys previously, you might be asked to overwrite the existing key. In such cases, it’s recommended to create a custom-named SSH key.
Adding the SSH Key to Your GitHub Account
Copy your SSH public key to your clipboard. You can do this by running:
clip < ~/.ssh/id_ed25519.pubIf your SSH public key file has a different name, modify the filename accordingly.
- Log in to GitHub and navigate to your account settings.
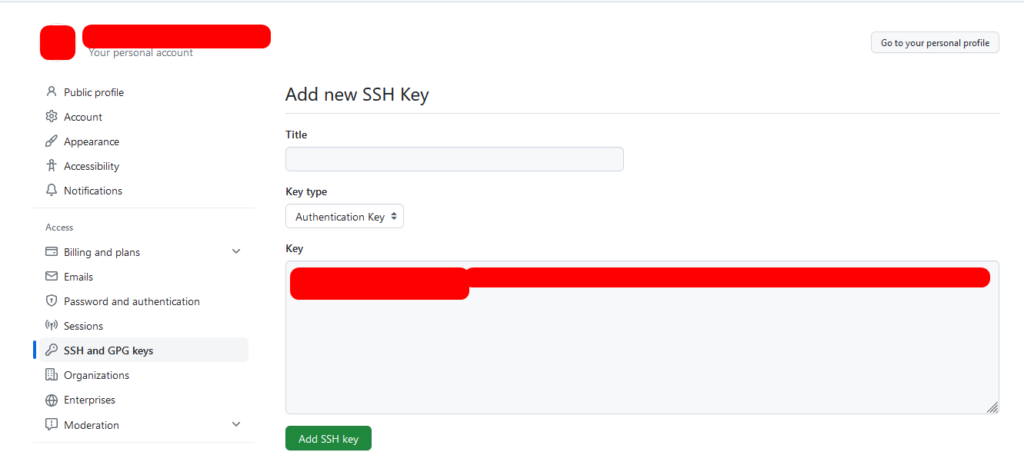
- Go to the SSH and GPG keys section.
- Click on “New SSH key”.
- Paste your public key into the “Key” field.
- Add a descriptive title for the key, such as “Personal laptop”.
- Click “Add SSH key” to save the key to your GitHub account.
Testing Your SSH Connection
- Open your terminal.
- Run the following command to test your SSH connection to GitHub:
ssh -T git@github.com
If prompted, enter yes.
- Verify the connection by checking if the message returns your GitHub username.
Setting Up Your Git Configuration In Local
Configuring Your Identity
The first step in configuring Git is setting up your identity. This involves specifying your name and email address, which Git uses to associate your commits with your identity.
git config --global user.name "Your Name"
git config --global user.email your.email@example.com
Note: --global is optional if you to apply this to global